|
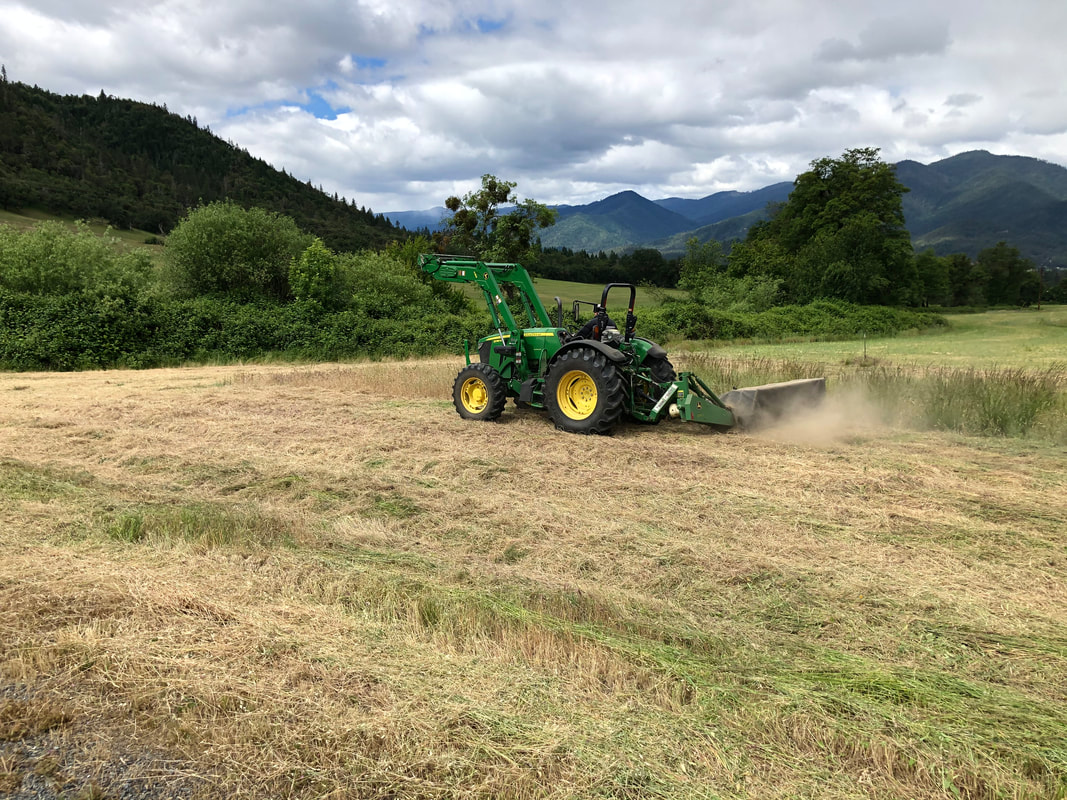
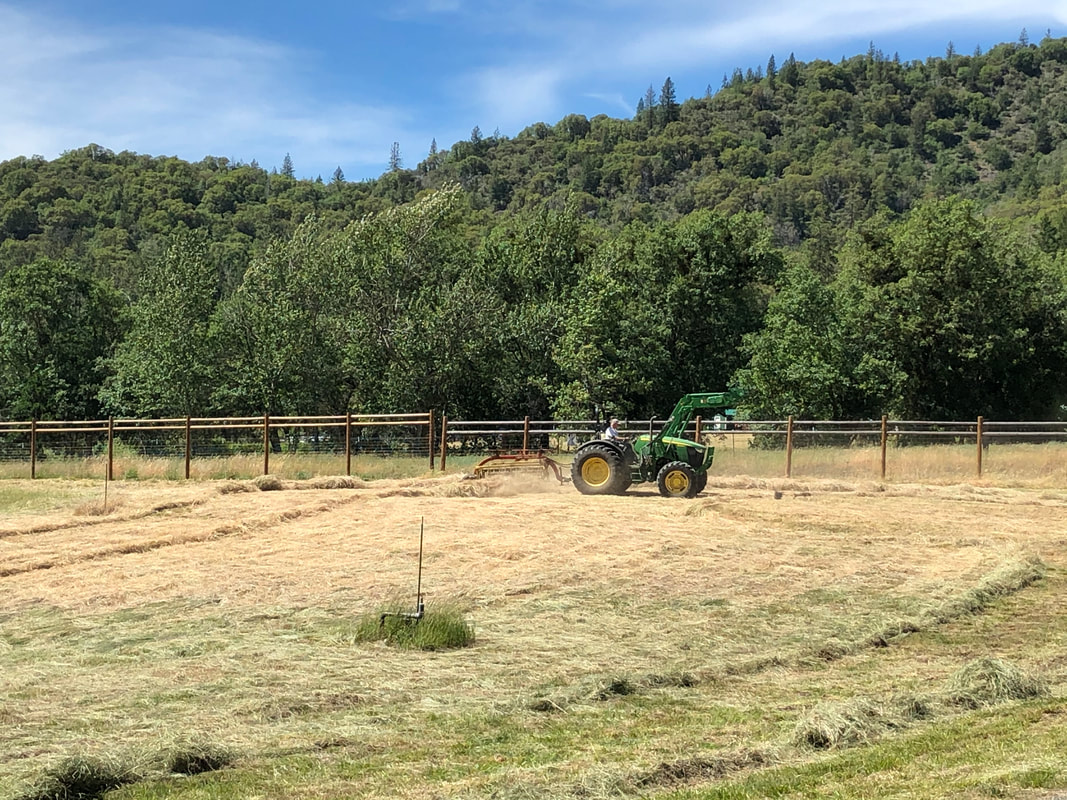
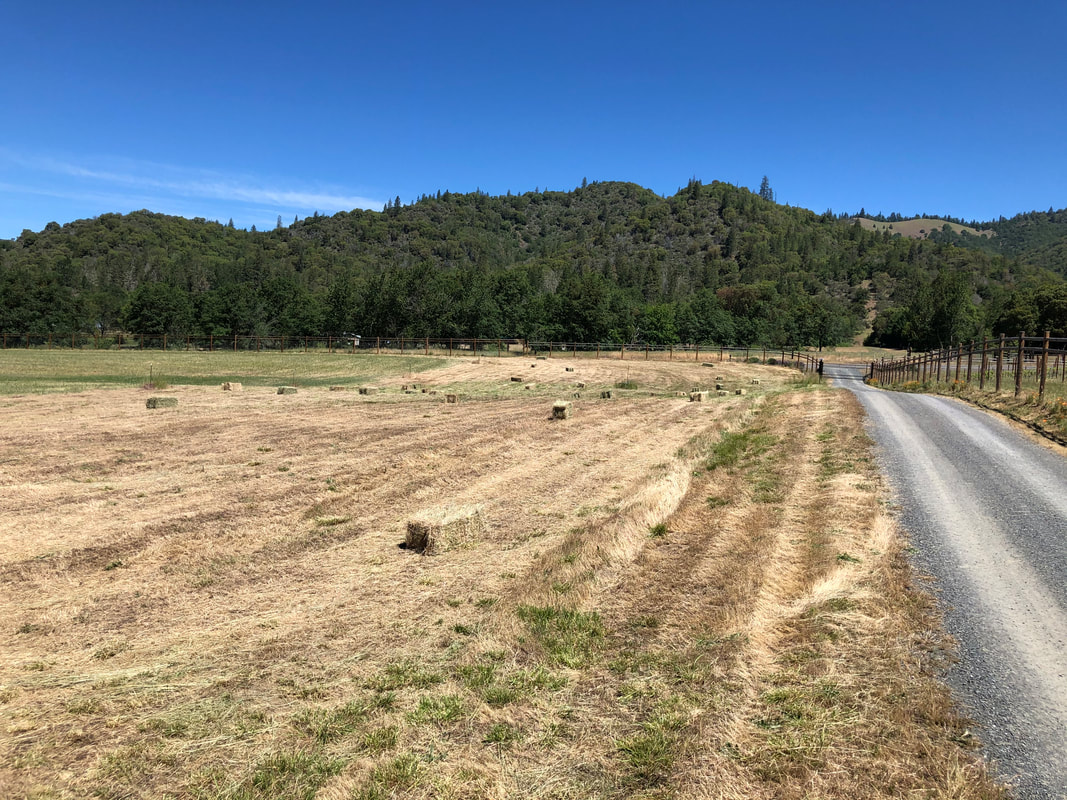
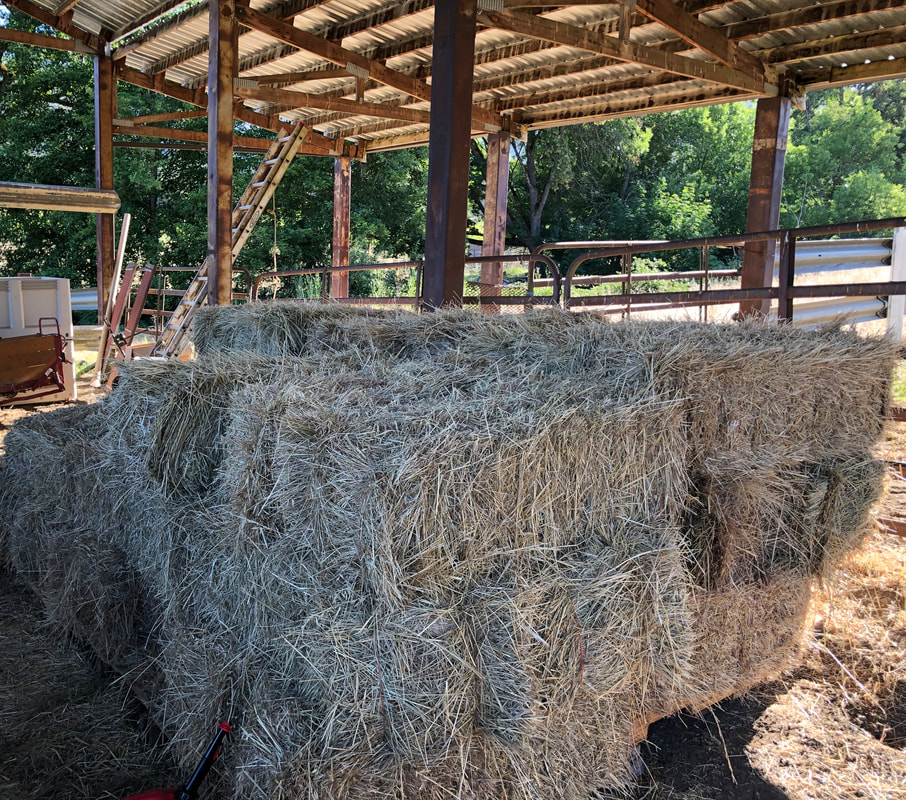
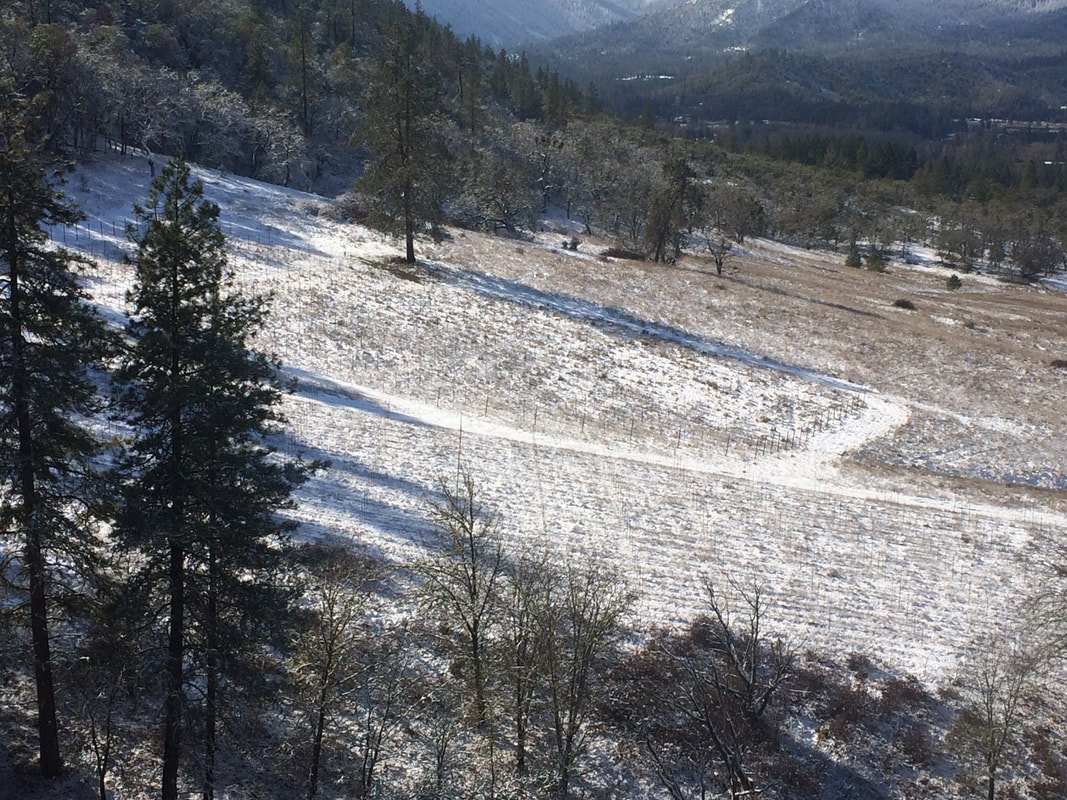
In the northwest corner of our farm is a 1-acre parcel that has largely been unused since we bought our farm in 2014. The previous owners had an agreement with the local organic dairy to grow winter vetch for their cows, but we've just mowed it a couple of times per year and then left it alone. It is bordered by neighbors to the west, the road to the north, our driveway to the east, and Slagle Creek to the south. In October of last year we hosted a visit by the OSU Extension Land Steward class. Debbie and I are both graduates of the program and are always eager to give back. Gordon Jones, Assistant Professor in the Department of Agriculture was part of the visit. One of his specialties is pasture management, and specifically, grasses. He talked to the class about soil health and the best grasses for our area's fields. I pulled him aside and asked him about the possibility of growing hay for our flock of 9 sheep. We have been purchasing hay from neighbors and from our local farm store. According to Gordon we needed to mow and then seed just before the winter rains. In November we purchased a 100# bag of pasture seed mix and spread about half of it on the 1-acre, freshly mowed field. We didn't get our usual amount of rain this past winter in southern Oregon and since we did not plan on irrigating I wasn't sure if we'd actually make any hay at all. And if it the grass did grow, we still had to find someone to cut, rake, and bale it. This is a very rural area in which we live so it didn't take too many phone calls before we found that our neighbor Jack had the equipment. Jack came up in April to have a first look. "Doesn't look like much yet, but let's give it until the end of May then re-check". I called him a month later and he was ready to start. "I've driven by and see that you're as ready as you're going to be". Almost finished with the mowing Timing is critical for making hay. There needs to be a one week window in between rains. We didn't want the cut grass to get wet before it was baled into hay or there would be a high likelihood of mold. The sheep wouldn't like it and it wouldn't be good for them. Raking into windrows Word from Jack before baling was that the grass was not uniform and that there were lots of weeds. We knew this going in. Observable in the photo above are areas of dry brown grass and lush green grass. The weeds weren't a concern because the sheep were used to eating around what they didn't like. We weren't sure what problems the texture differences might cause. We pressed ahead. View of the field after baling The baling went reasonably well. The greener grasses made tighter bales; the brown grasses were a bit loose and harder to handle. Fortunately we got help from Kevin, our young and strong vineyard worker, who helped load the hay onto the trailer for the short drive to the barn. It took two trips to get it all in. 35 bales in all and the sheep seem to like it! Not bad for a first try. Before next year we plan on smoothing the field and getting rid of as many of the noxious weeds as possible. And maybe we'll have more normal rains this year. All the hay stacked into the barn before the rains came back
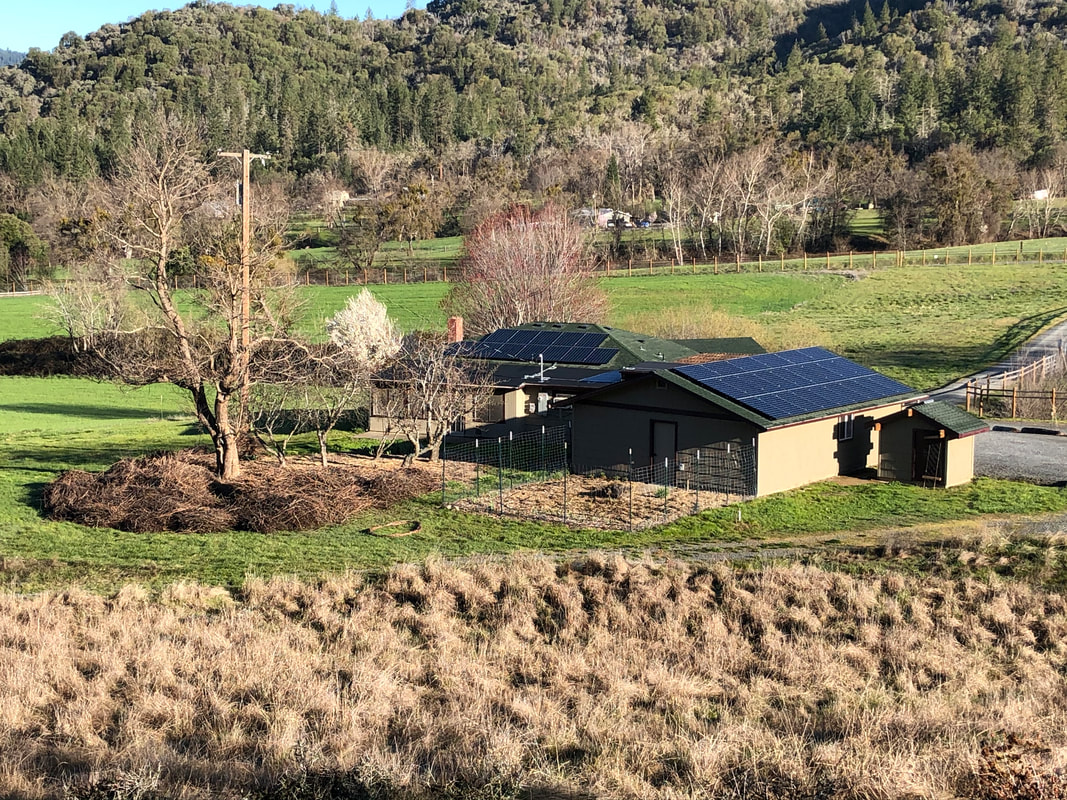
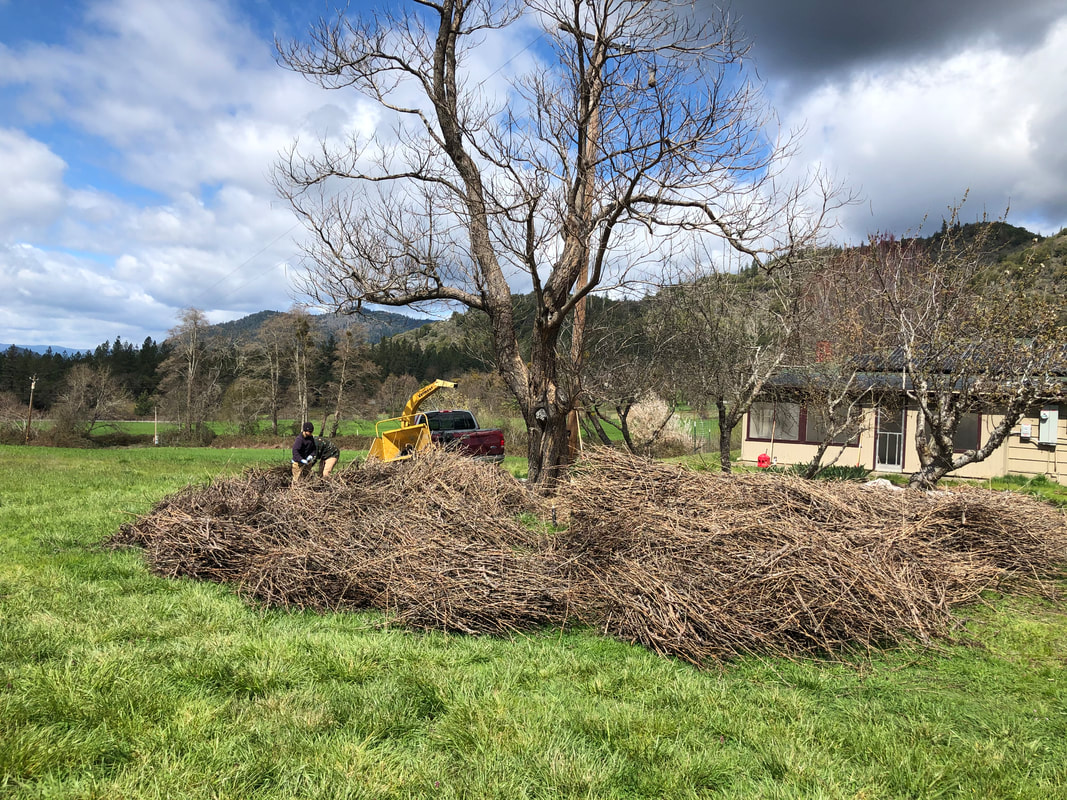
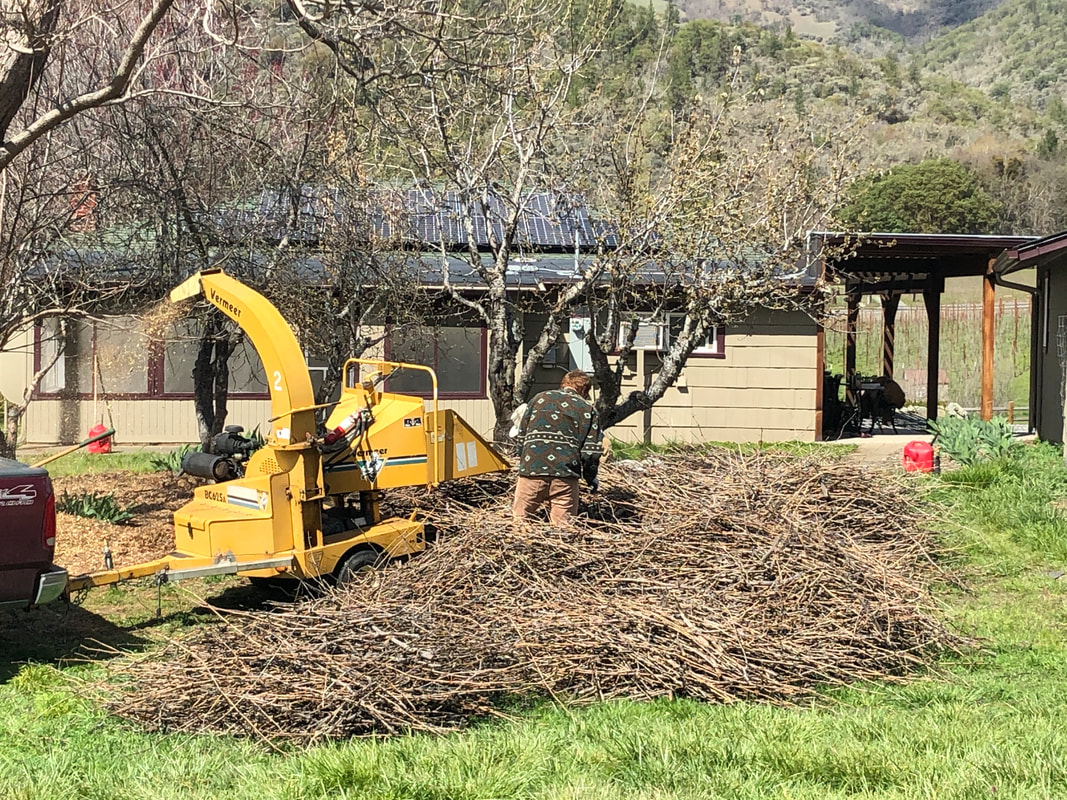
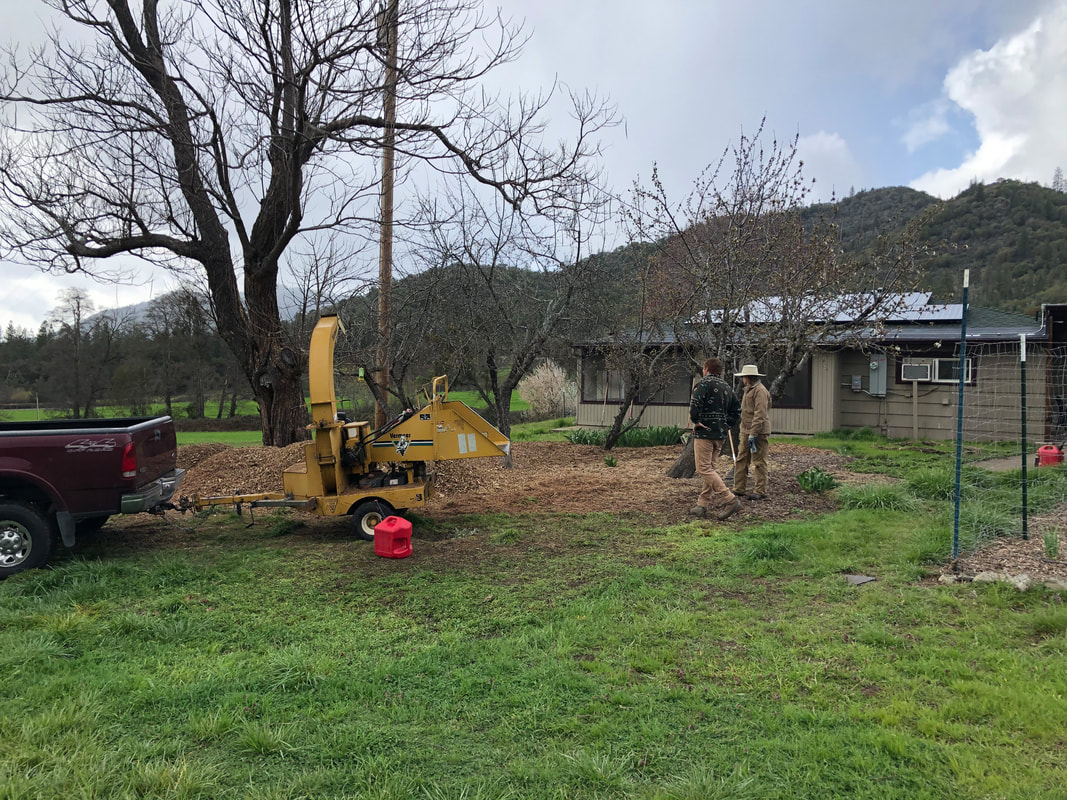
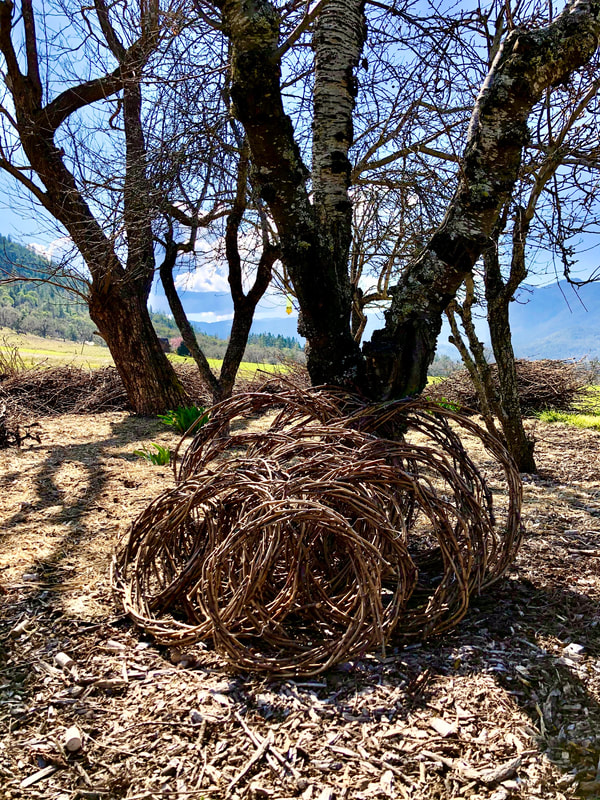
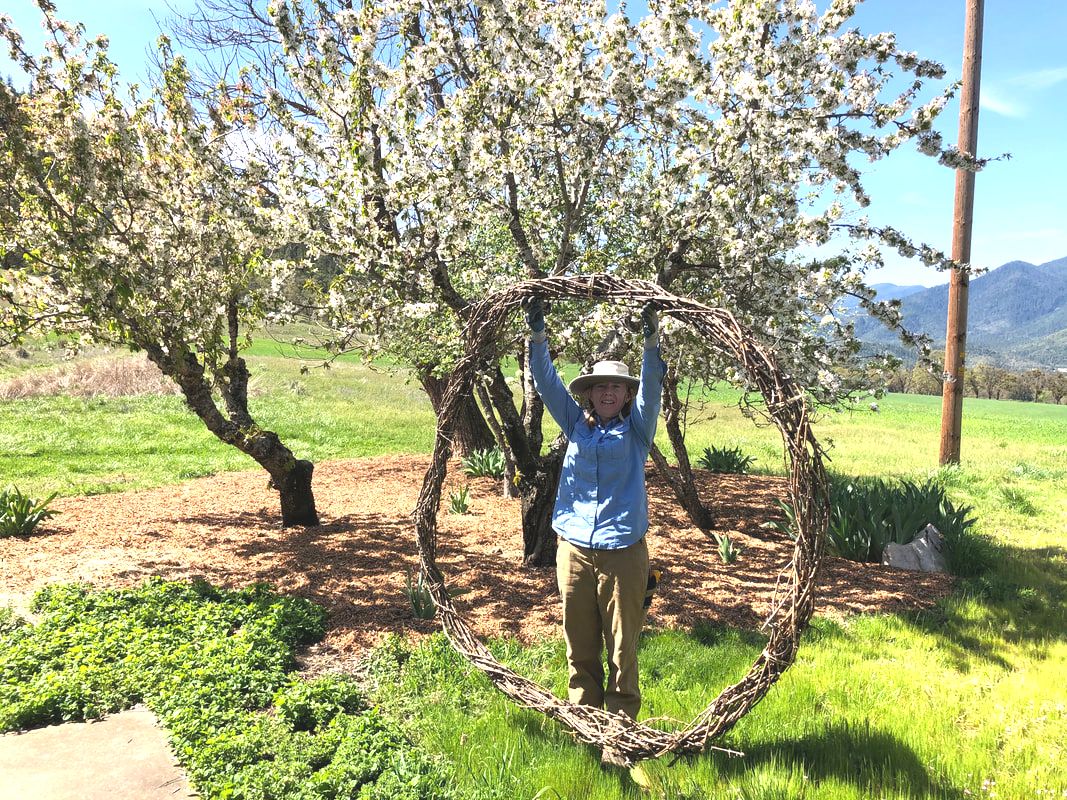
In our previous 6 seasons we have dropped our spring vine pruning material on the vineyard floor for slow incorporation into the soil. This year we decided to do something different. After completing our pre-pruning activities we gathered all of the brush and moved it to our orchard. Cuttings from 5,000 vines piled up behind our orchard On April 1 we rented a hefty chipper from Grants Pass Equipment Rental and got to work. It's the first time we've used this piece of equipment so there was a bit of a learning curve. I'd been given good instructions on how to slowly engage the chipper so that I didn't kill the engine. I'd been shown how to aim the discharge chute so that the chips went where I wanted them. Still I wasn't quite sure how this was going to work. Early in the process Debbie and Kevin are gathering cuttings to chip. We got started in earnest around 10 a.m. and tried different ways of feeding the different-sized and shaped vines into the chipper. The cordons were 2 feet long and 2-3 inches thick with twists and gnarls. The canes were up to 6 feet long and 1 inch thick. And they were all tangled up with each other. The end is in sight Maneuvering the chipper had its own challenges. I back up a lot of trailers but none this short. A slight turn of the steering wheel caused significant movement of the machine. There was uneven ground and obstacles such as trees and irrigation lines to avoid. The discharge chute was designed to rotate but not full circle. So we always had to keep in mind that we wanted the chips to end up on the orchard floor not in the yard. As we were nearing completion the daily winds picked up and covered anyone downwind in plenty of dust. Surveying a job well done! We finished up at 4 p.m. leaving just enough time to gas up the chipper and get it back to its owners. We ended up with enough mulch to cover the entire orchard floor 2-3 inches and lots left over for the beds around the tasting room. It was a great way to recycle our plant material and was really good exercise! Not all of the vine trimmings were used for mulch. Debbie had been planning a wreath decorating class for a Saturday morning this summer. She and Becca, who will be teaching the class, selected the best cuttings and produced over a dozen grapevine wreaths of various sizes. The class will be scheduled and an invitation sent out as soon as we are able to re-open the tasting room. Debbie and Becca's handcrafted estate grapevines. Debbie crafted a giant wreath to hang on our vineyard gate for all to admire!
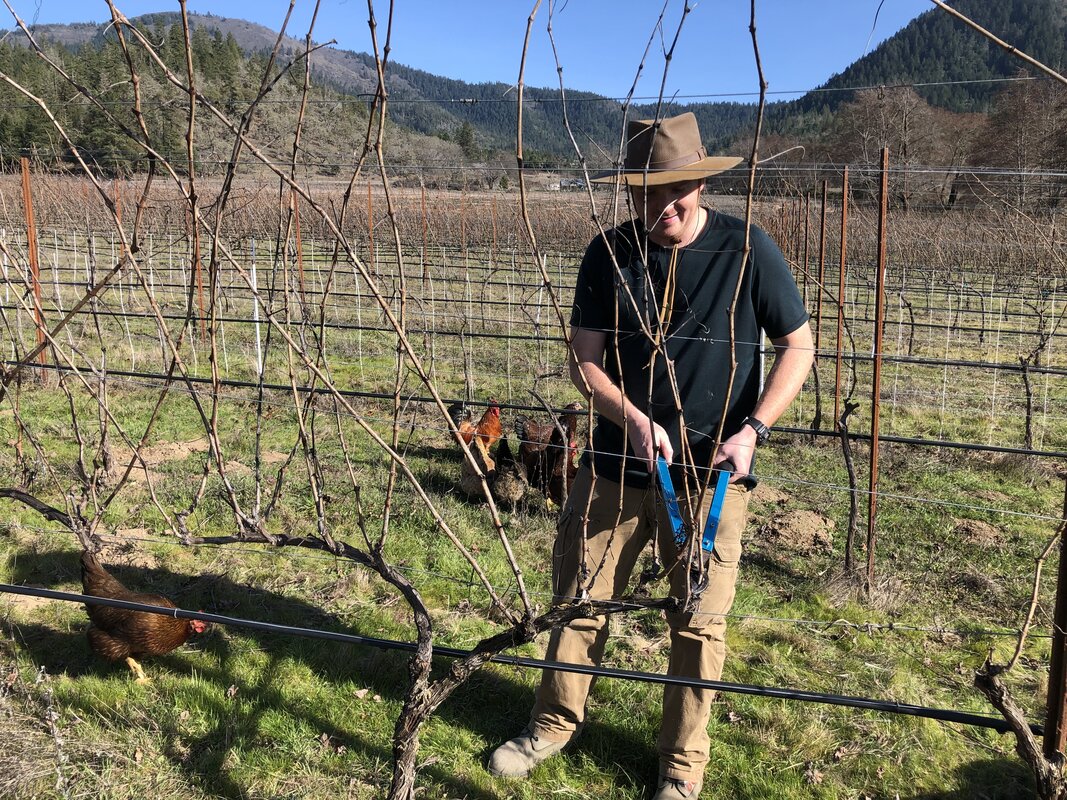
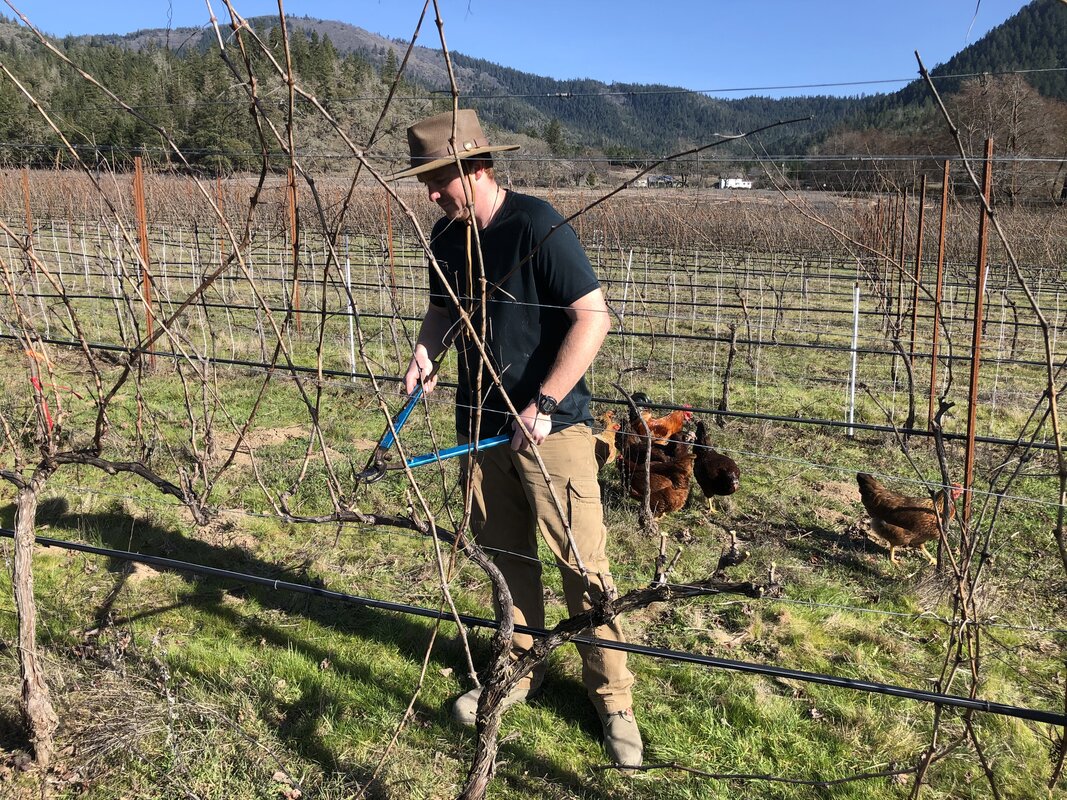
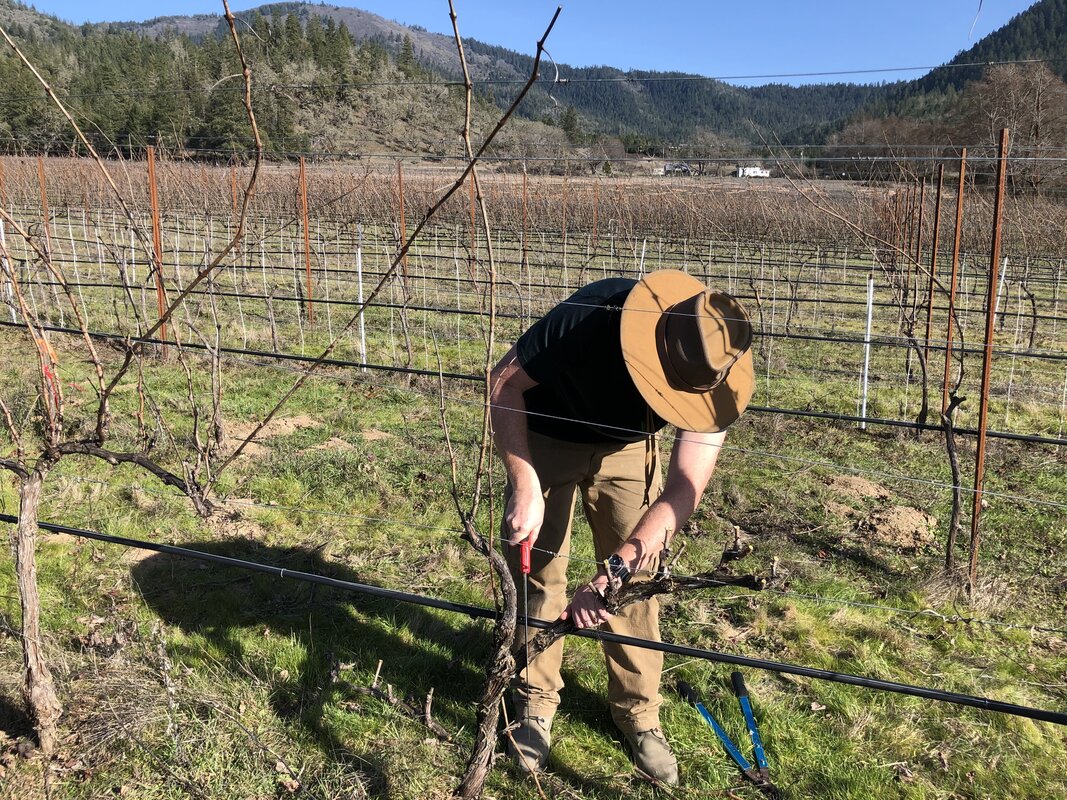
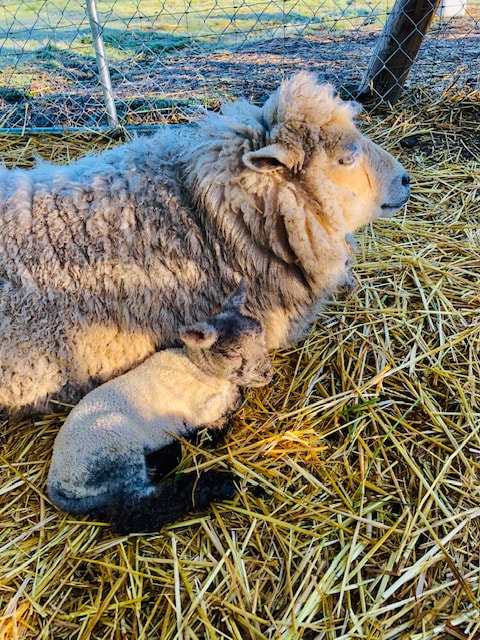
We realize as our vineyard has grown to 8 acres and about 12,000 vines that ergonomics matter. We must address each vine 5 times during the growing season giving us 60,000 encounters per year. And as each vine ages and matures, so do we! To put it bluntly bending over is not getting any easier. After having removed the tape Kevin begins removing last year's canes. Notice the trunk and the cordons on either side. We made the decision that this is the year we will change our trellis configuration so that the height of the main part of each vine is at a more comfortable height. This means that we are raising the fruiting wire 6 inches in the trellis. This in itself is not too difficult because the trellis wires are all easily adjustable in the line stakes by moving a wire from one slot to another. The process is complicated by the fact that every vine is attached to the wire and that raising the wire necessitates a modification to each vine. About half way through the process most of the canes have been removed. The vines are attached to the fruiting wire with several strands of green gardening tape which are tied around the arms (cordons). After removing the tape each cordon and most of the canes from last year are cut off. 1-2 canes closest to the trunk are left for this year's fruit. One of them will be tied down after the threat of frost has passed in May. All of the cuttings are being gathered and will be chipped up for mulch elsewhere on the farm. The process takes 2-3 minutes per plant plus the time to gather the cuttings. One cordon has been removed and Kevin is cutting the 2nd one off. Several canes remain and will provide the buds for this year's fruit. Our first new lamb of the season was born on February 27. The ewe appeared to be pregnant but with her abundance of wool and a healthy appetite for the lush spring grass it was a little hard to tell. Her behavior seemed to be pointing toward impending labor as she was keeping her distance from the rest of the flock and laying down more than usual. We isolated her into a quiet shelter and went to dinner. When we returned an hour later the little one had arrived, giving us 8 sheep in total! We are pretty sure one of the other ewes is also expecting. Momma and her little lamb
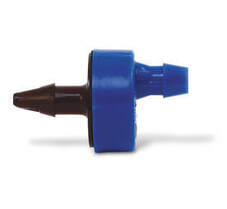
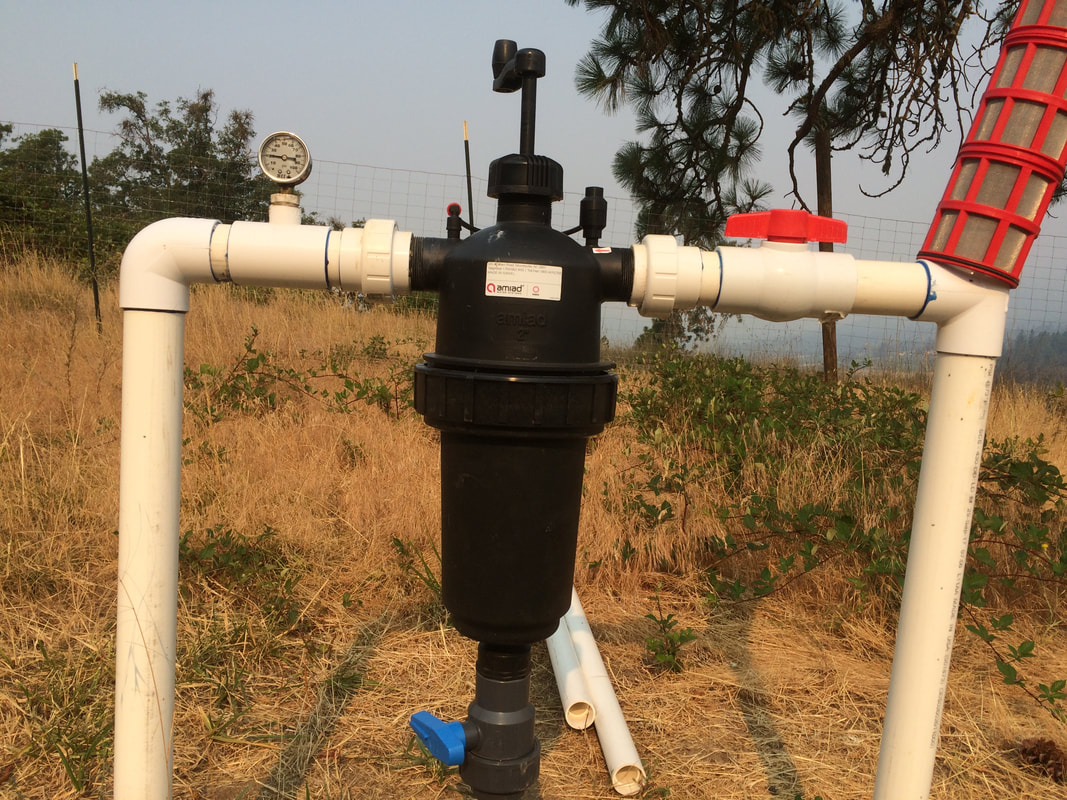
Six Sigma is a set of techniques and tools for process improvement. I used it a lot as an engineer and was certified as a Six Sigma Black Belt indicating a certain level of expertise. I never thought I might need to use it in the vineyard. But with the recent planting of our 2 acre upper vineyard which includes 1 acre of Pinot noir, 2/3 acre of Chardonnay, and 1/3 acre of Pinot blanc it all came back to me. With numerous irrigation related problems it was clear that our process indeed needed improving. In order for our young plants to receive the water they need during our hot dry summers, there is an irrigation emitter similar to the one pictured above punched into a water tube which is located about 2 feet above each plant. These particular emitters are designed to deliver 1/2 gallon of water per hour. The trouble started when we noticed most were not flowing any water at all! Each new vineyard irrigation system should be thoroughly flushed with clean water BEFORE the emitters are installed because there is always a chance that dirt, PVC shavings, or rust might be in the lines. In a hurry to be ready for the arrival of the new vines from the nursery, I failed to do that. Uggh! The first step in Six Sigma is to Measure the problem. This was easy as nearly ALL 3,300 emitters were plugged. Easy, but not pleasing. Our team worked for hours to pull each emitter and either blow it out or replace it. But as soon as we ran the system most, ~2,000 of them, plugged again. There was no getting around the need to flush the system out. So we had to back up a step and disconnect all 42 rows of drip tubing and blow the water in the lines to the ground. This required many hours and several trips to the irrigation store, but the water was clearing up. We put everything back together and started the system. To our chagrin about half of the emitters plugged during the first watering. The second step in Six Sigma is to Analyze the data. We knew (1) the emitters we installed in the upper vineyard were of a different make and model than what we have used successfully for 5 years in our lower vineyard, (2) that the emitters were plugging frequently with a very fine grit, and (3) our inline filter was apparently allowing the grit pass to pass through. We turned our attention to the filter. It's the very same filter that we have in the lower vineyard and have had virtually no problems with it. It is well designed with the ability to manually clean while the system runs. The red filter screen at the top right of the photo was originally installed inside the black filter housing. I learned from our irrigation expert that the color red indicates a certain hole size or mesh. While we have always used a red element in our lower vineyard, the manufacturer offers a yellow and black model with progressively smaller mesh. The third step in Six Sigma is Improve. After Measuring the problem and Analyzing the causes and the data, it's time to make some changes. I wish I could say we jumped right on the best solution, but its been more of a process.
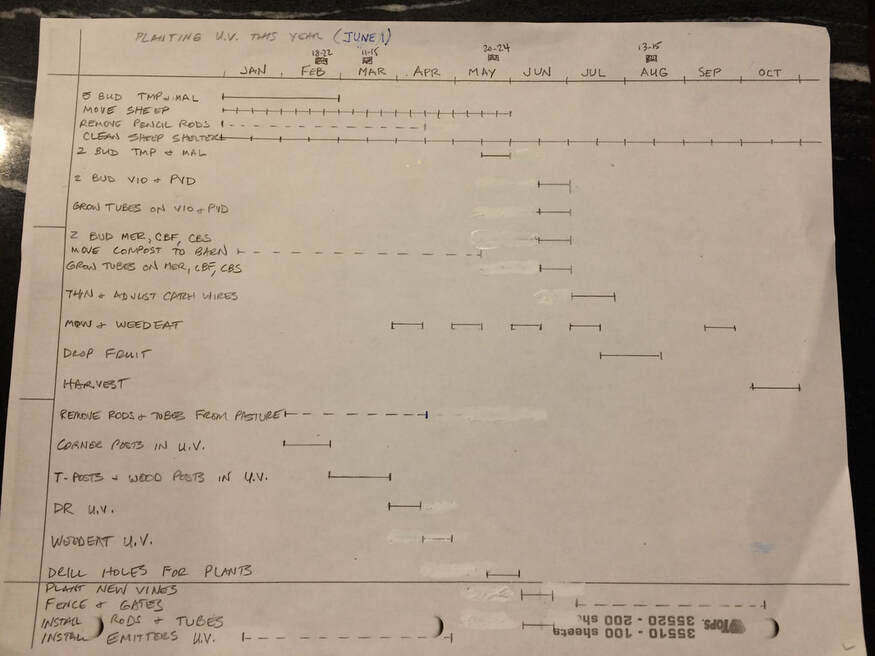
The first improvement made was to install a yellow filter element with a finer mesh opening. This helped some but not enough. So we found a dealer online that had a black element and ordered it. Its openings are so small I was wondering how often I would have to clean it to keep water flowing. We installed it on July 31st and made the decision that we would no longer pull and clean the plugged emitters but would instead replace them with a different brand. During the August 3rd watering, I walked the entire vineyard and found 68 emitters plugged which I pulled and replaced with the new model. I cleaned the filter once and noticed some build up, but still good flow. On August 6th, 17 plugged emitters were pulled and replaced. Again, one filter cleaning during the 3 hour irrigation session. Progress! The final step in Six Sigma is Control. With improvements in place, what are we going to do to ensure that our good results continue? Plans are to continue to clean the filter once per watering session and to weekly walk through the vineyard counting and replacing any plugged emitters. Next year, all lines will be flushed to remove any build up that develops over the winter. As the plants get older and put down deep roots they are better able to tolerate periodic irrigation interruptions. But this first year especially we have to ensure a reliable water supply. When I was working full time as an engineer I often used Gantt charts as a way of planning out a project. In those days I would use sophisticated software such as Microsoft Project. Today as a self-employed farmer my tools are pencil, paper, straight edge, and eraser much like Mr. Gantt used 100 years ago when he developed the technique. It's a great way of looking at the many pieces of a project on a time line so that first things get done first. Our project for 2019 includes many pieces of which planting 2 acres of Burgundian varietals is most critical. Not that everything else is not important, but when you are expecting 3,3oo vines to be delivered on June 1st, you need to be ready. The trellis systems are installed and the underground irrigation piping has been installed. We still need to install fence posts and irrigation emitters and drill holes for the plants in the new block while tending to the 6 acres of vines already planted. In order to be as cost effective as possible, we will remove the metal pencil rods from our most mature vines and re-use them for the new plants. Our good neighbors at Walport Family Cellars are allowing us to use their grow tubes this season since they aren't using them. We are very thankful to them and our entire vineyard community which is so supportive of one another here in the Applegate Valley! Sustainability UpdateOur LIVE certification was renewed last year, and we have been farming organically, although not certified, for 2 years. We employ some biodynamic principles and are considering applying for certification next year. We believe that in caring for the soil we will produce higher quality fruit and better wines. It's a part of stewardship which we take very seriously. Chickens scratch around under the vines and take care of many insect pests. Weekly, we move our flock of Babydoll Sheep to the alleyway between 2 rows to mow and fertilize. Happy sheep! To learn more about biodynamics as applied to wine and wine grapes check out this blog by our good neighbor Craig Camp from Troon Vineyard.
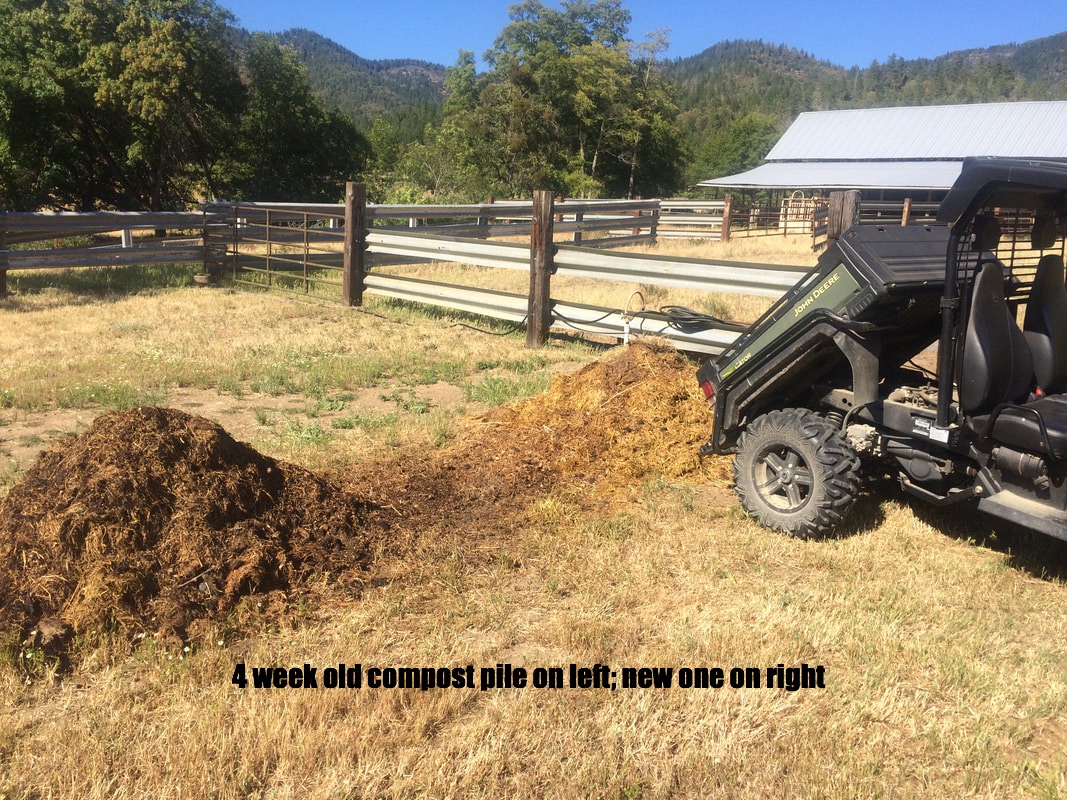
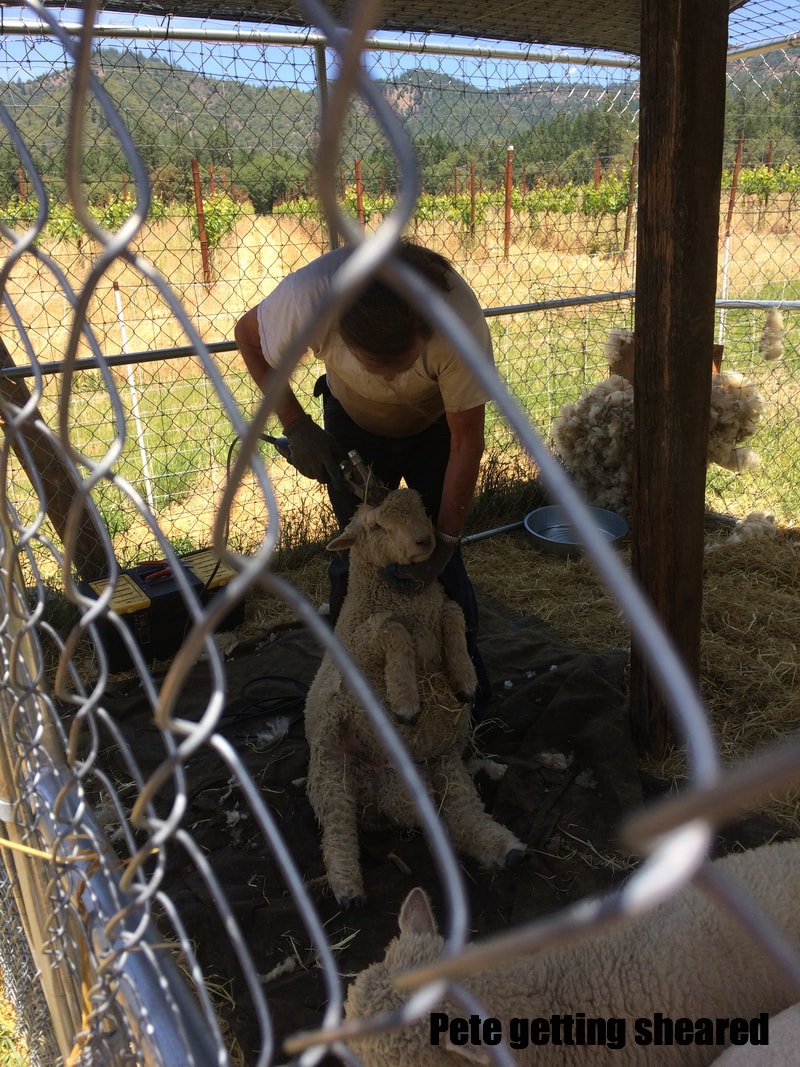
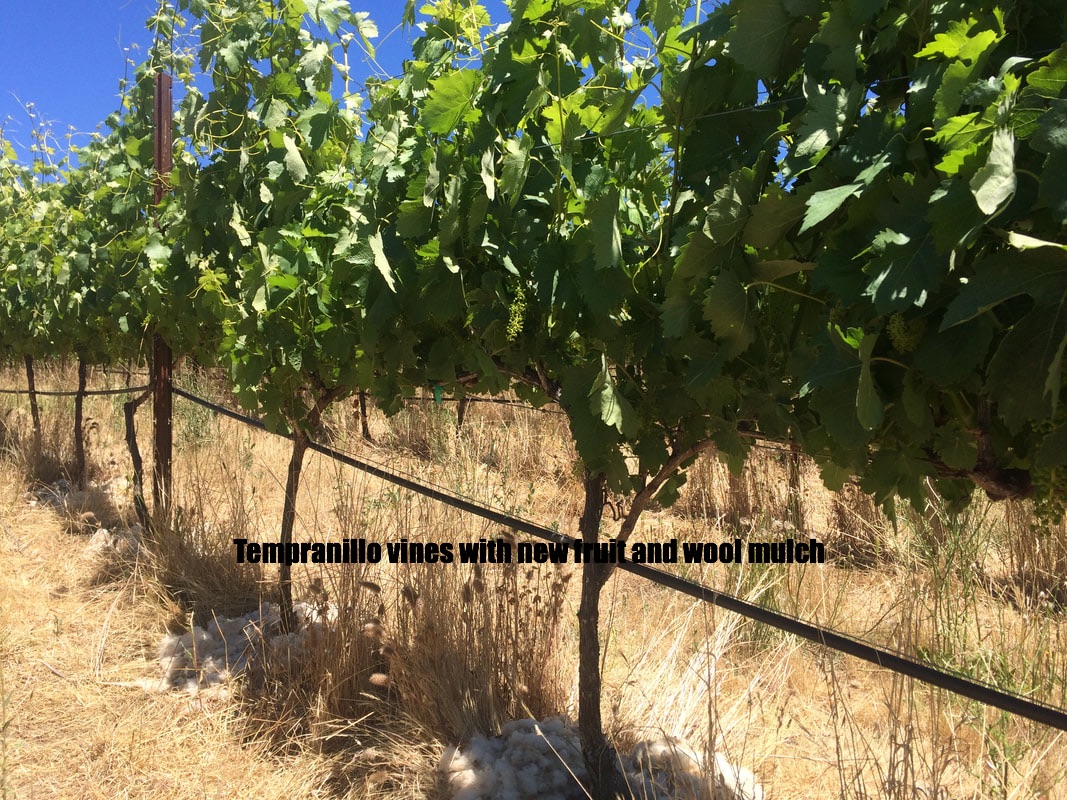
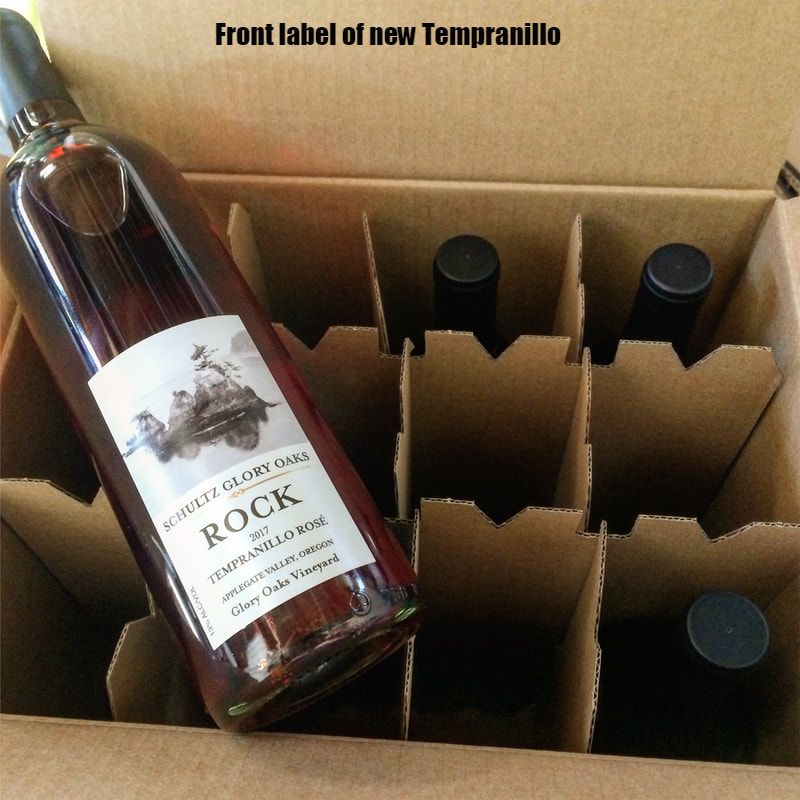
I spoke with Sarah at the Demeter Association (the organization responsible for certifying biodynamic farms) a few weeks ago to learn more about the certification process. I came away with a better understanding of what's involved and about the next steps. Our farm is already certified sustainable under the LIVE (Low Input Viticulture & Enology) program, so we are well on our way. For the past year or so we have been farming organically, although not certified, which is a prerequisite for the biodynamic program. In addition, special biodynamic preparations must be applied to the vineyard a few times a year. Ideally these preparations are made on the farm but they can also be purchased. Other preparations are incorporated into compost which is the primary biodynamic fertilizer. We've learned a lot about making compost from our county extension classes--Debbie through the Master Gardener program and both of us through the Land Steward program. Time to get to work building our piles that will be spread into the vineyard next spring. We have an abundance of materials including kitchen scraps, yard waste, and manure with bedding from our chicken coop and sheep pen. We even have worm castings from our vermiculture bin. As a bonus this spring, we had some of the neighbor's cattle in the pasture for about eight weeks who left us with a lot of good material. The process of making the compost requires the piles to be turned, aerated, and watered every week or so. It's a good workout! Speaking of sheep, I let them into an area of recently dried out grass not knowing it was full of stickers (locally known as fox tails) and the sheep got covered with them. Debbie and I spent three hours trying to pick the stickers out of their wool. In desperation I made a call to sheep shearer John Slocum. Thankfully he was going to be in on our road the next day. He expertly sheared all five sheep in about two hours, removing their wool and most all of the stickers. The rest were easy to find and remove and the sheep are all ready for the summer ahead. An added benefit is that we are able to use the wool as mulch around some grape vines! In the vineyard our Tempranillo and Malbec vines are in the early stages of fruit set, meaning the young berries are just starting to swell. The plants are very healthy and are enjoying a moderate early summer. They are also responding well to the organic spray treatments they are receiving. Our second leaf Viognier and Petit Verdot plants have all been two-budded and are protected once again by grow tubes. Many of the plants have grown considerably; a small number, maybe 5%, will have to be replanted from cuttings next spring. And we are expecting delivery any day now of 2,000 new vines which will give us a total of six acres planted. The new vines are Merlot, Cabernet Franc, and Cabernet Suavignon, all from the Bordeaux family of grapes. In the winery we expect to start bottling this week with our 2017 Rock Tempranillo rosé up first. We are excited to get rosé back in the tasting room after selling out of the 2016 vintage rather quickly. This also looks to be our biggest bottling to date of about 900 cases, including our very first estate red Tempranillo. It's going to be a busy summer!
|
AuthorGreg is a retired engineer with a passion for wine and for caring for the land. Archives
July 2020
|
Our tasting room is open Fridays and Saturdays, 12:00 p.m. to 5:00 p.m., and by appointment other days and special events. Please use the MAKE APPOINTMENT button below to book online.
Please note, our permit does not allow minors on the premises.
755 Slagle Creek Road, Grants Pass, OR 97527
[email protected]; 541-414-8448
[email protected]; 541-414-8444
Professional Photography by David Gibb Photography and Steven Addington
[email protected]; 541-414-8448
[email protected]; 541-414-8444
Professional Photography by David Gibb Photography and Steven Addington

